Select "Surface model" from the list of model types, and press arrow key. This will start a wizard that will take you
through the process of creating a new surface model.
Choose how to create your surface:
- From new points.
- From logged (existing) points .
 10.4.1 Define surface
» Main menu » Create models » Surface model » Define surface
You can use both new logged points or existing logged points to create your surface model.
Define your surface model with new logged points by placing your active tool point at desired position and press
“Log new point”. Turn on “Single point logs” to view and create your surface from existing logged points. Log three
or more points to create a surface.
You can switch between tool points when logging surface points.
You can switch triangulated view of the surface ON or OFF.
To improve overview, you can also show or hide point names.
Turn “Select all” ON for easy and fast selection of all logged points.
Press arrow key, to proceed, once all points have been logged.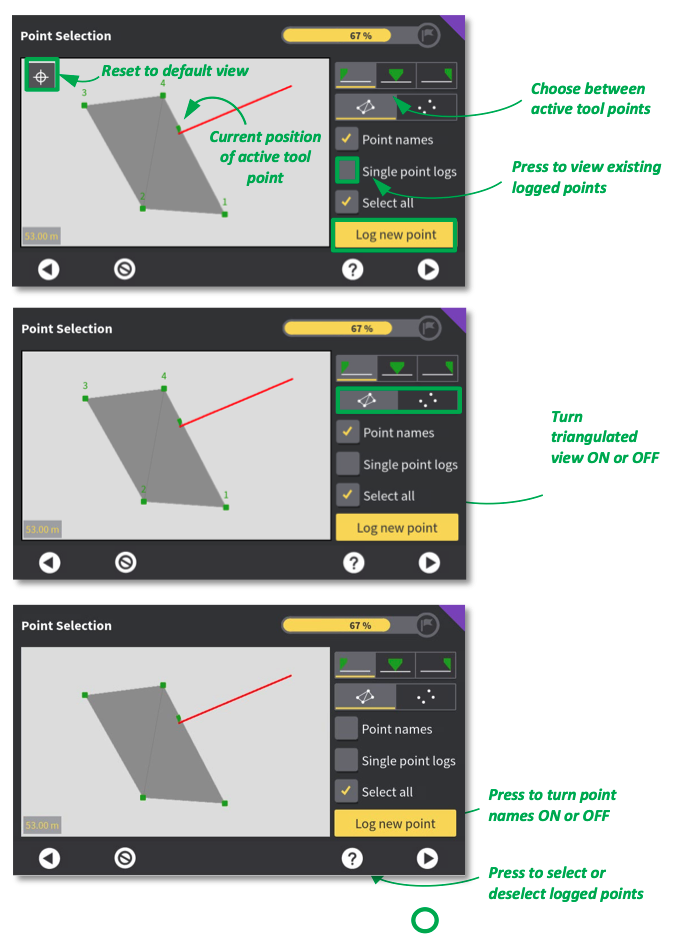
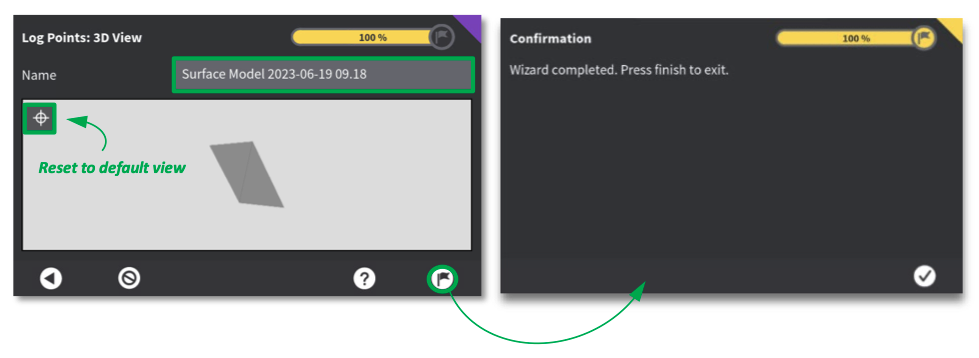
10.4.2 Model name
» Main menu » Create models » Surface model » Model name
Decide on model name, and inspect your model by rotating, zooming or panning.
Press flag icon to complete surface model creation.
Press tick mark icon to exit wizard.