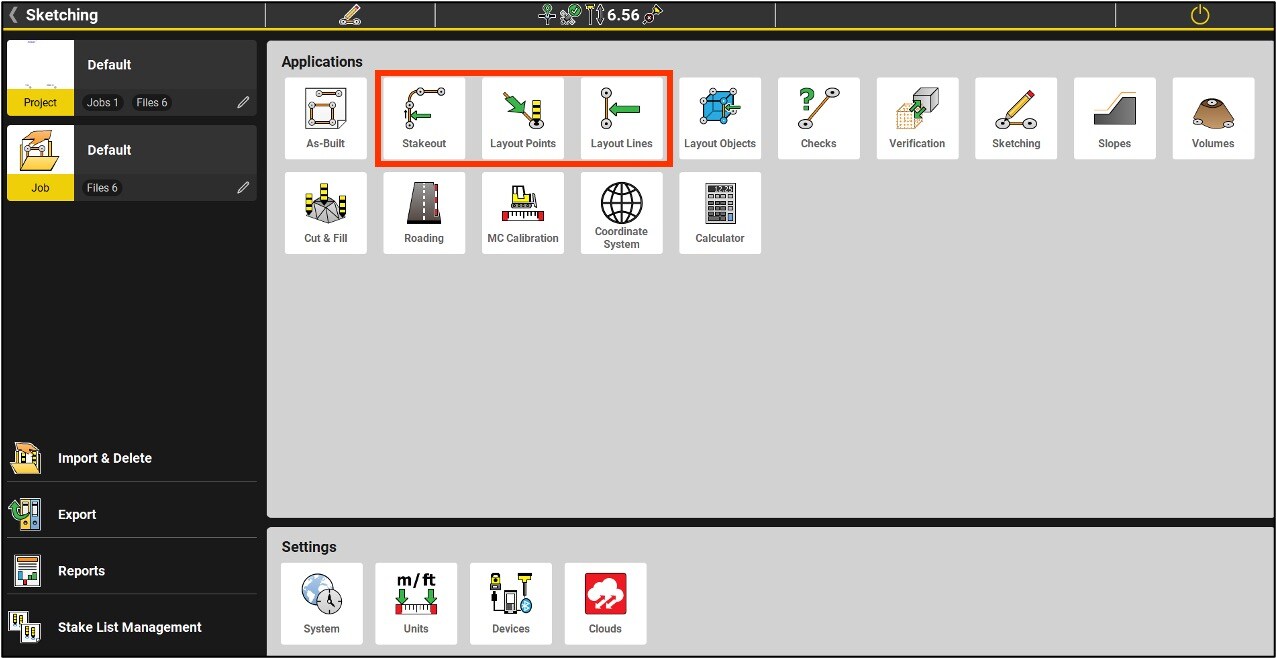
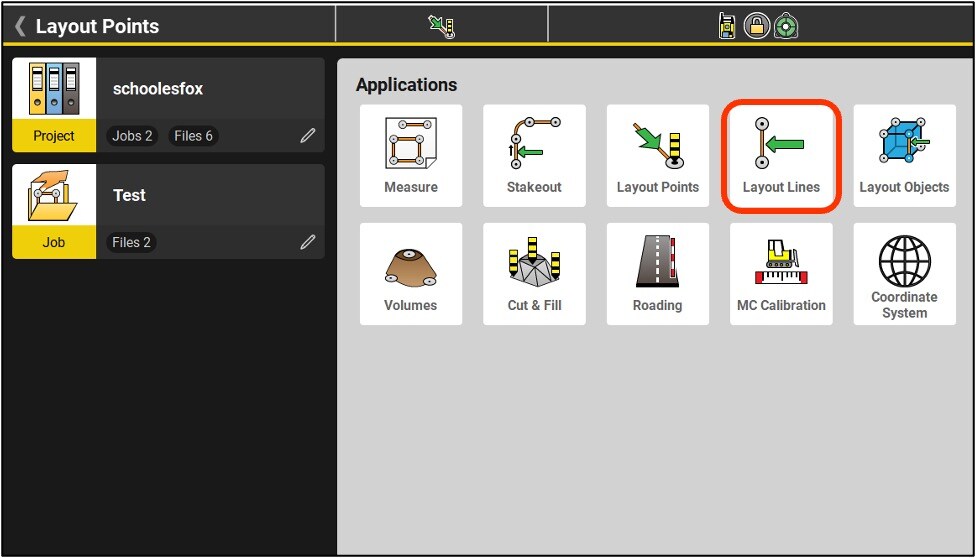
Stakeout applications
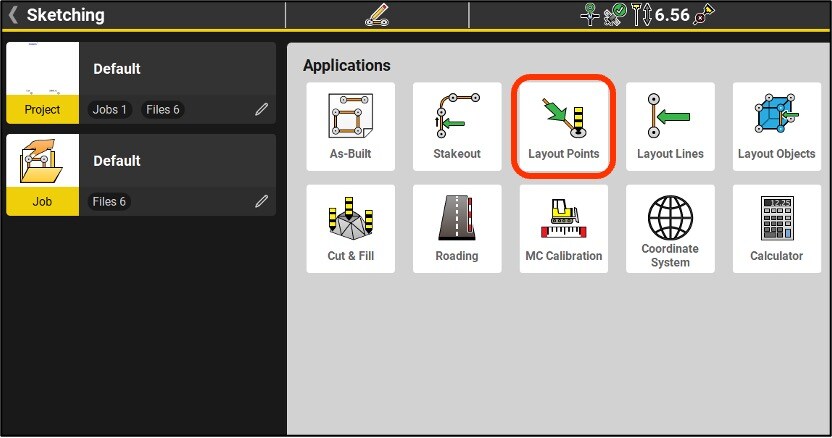
Layout points
The Point Layout application only allows you to layout points.
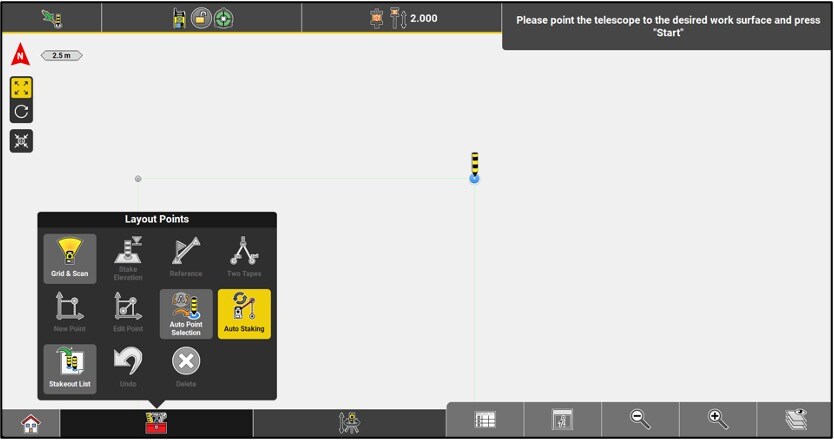
With this application, in total station mode, it is possible to automatically stake points with the laser pointer.
Press Auto staking in the toolbox and follow the steps at the top right of the screen.
Layout lines
The Layout Lines application only allows you to lay out lines.
In this application, polylines are described in segments. This is the only subtlety specific to this application.
To set up polylines go to the Stakeout menu.
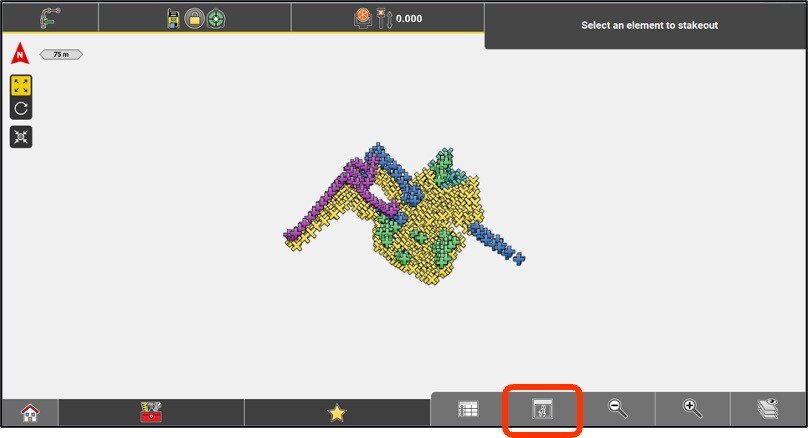
The Stakeout program allows you to locate various elements on the ground, such as :
•Points
•Lines, polylines, centrelines
•Arcs of circles

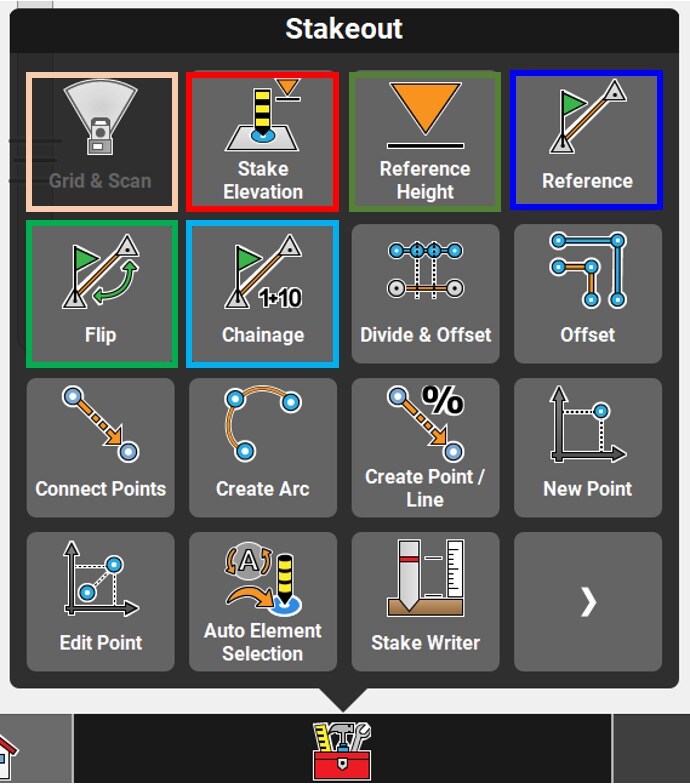
Toolbox options
•Grid & Scan: Specialized application (license required)
•Stake elevation: Set a given elevation (arbitrary or based on a point or surface)
•Reference Height: Give a height to the element being staked out.
•Reference: Stakeout an element using a line as reference.
•Flip: Reverse the direction of a line.
•Chainage: Determine the starting chainage of a line.
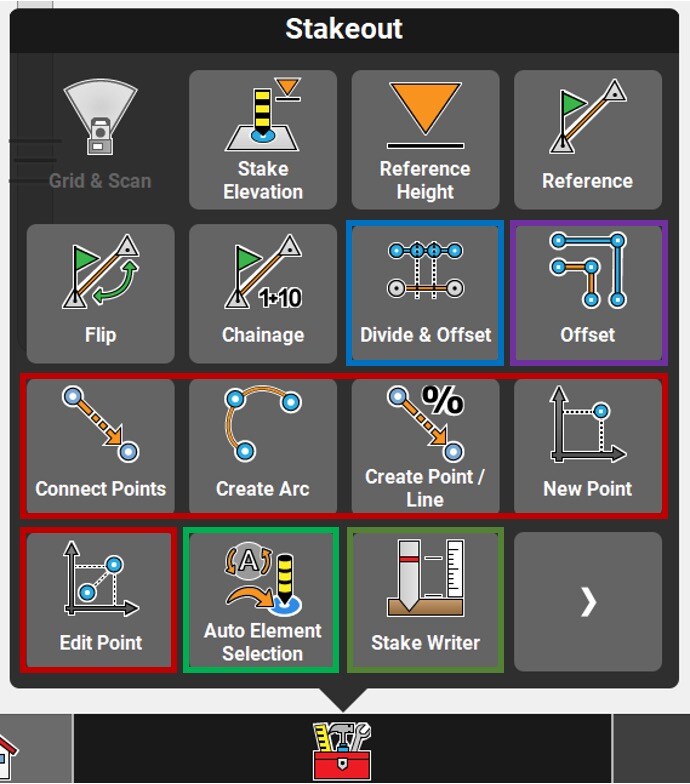
Toolbox options
•Divide & Offset: Create points by dividing and/or shifting a line.
•Offset: Offset a line horizontally and/or vertically.
•Connect Points, Create Arc, Create Point/Line, New Point and Edit Point: Create or edit lines, arcs and points.
•Auto Point Selection: Automatically select the next point to be staked out (the next in the list, the closest or the nearest in the list).
•Stake Writer: Tools to help annotate stakes.
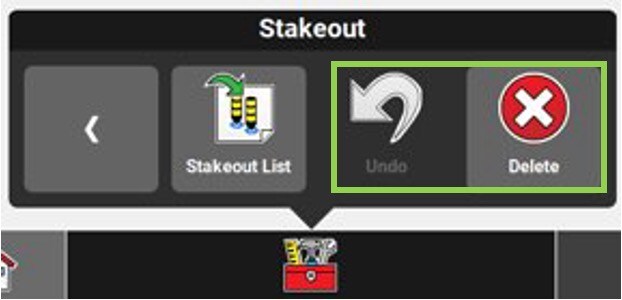
•Undo and Delete: Go back and delete an object.
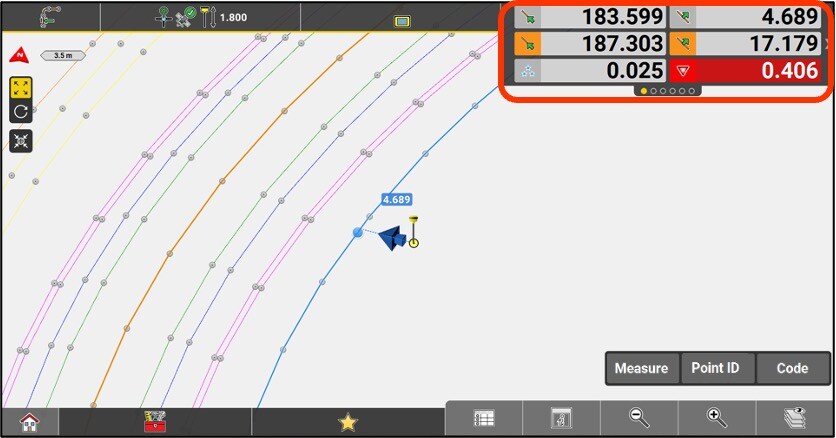
To stake an element, you only have to select it. The positional deviations will then be available in the information panel.
In this example, a polyline is staked out using the centerline (CL) as reference.
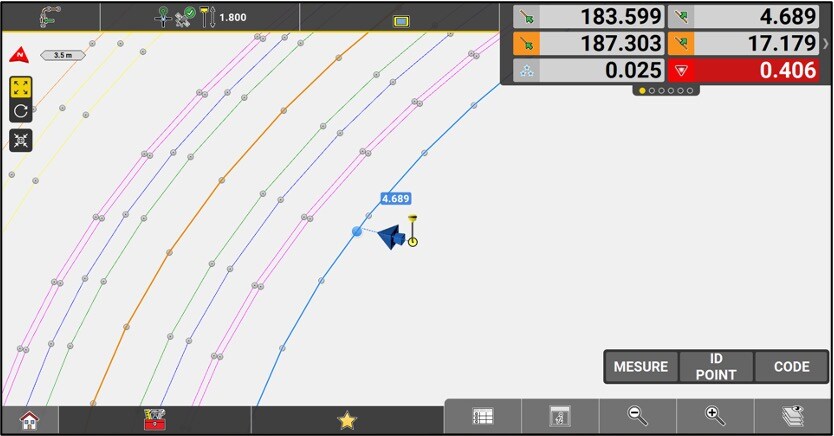
As with most applications, it is highly recommended to configure the information panel as desired.
To locate a point, select it and follow the compass or directions.
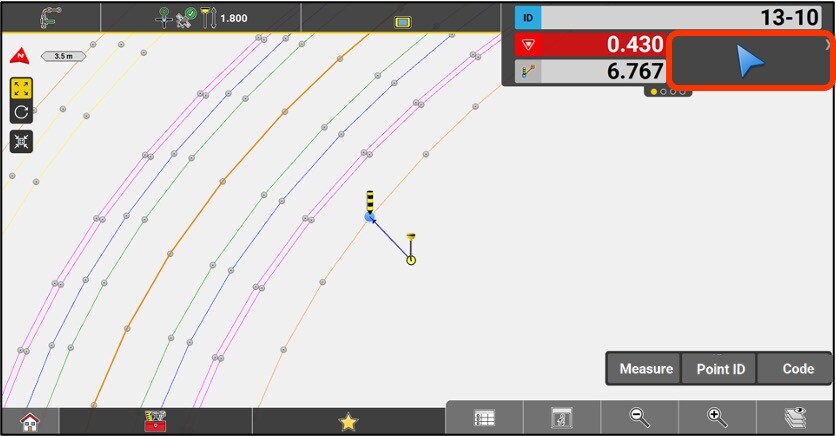
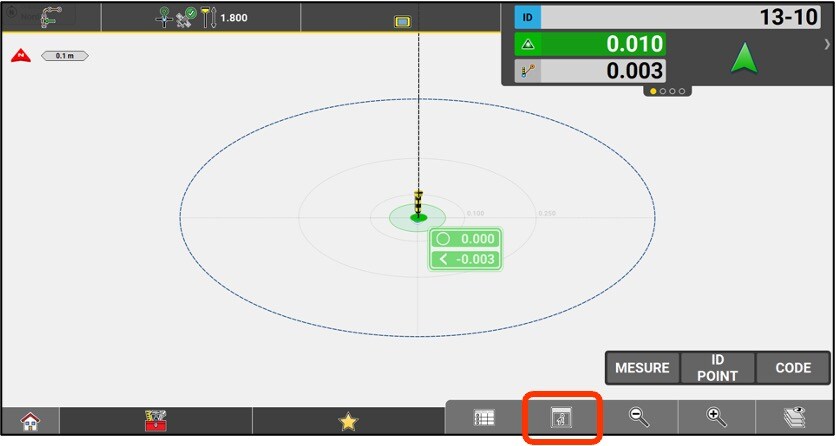
Within a 2 m radius of the point, a target appears on the screen with the deviations displayed. It is possible to save the staked point for future reports.
In the View (i) menu, the orientation can be changed to make it easier for the user.
Viewing options
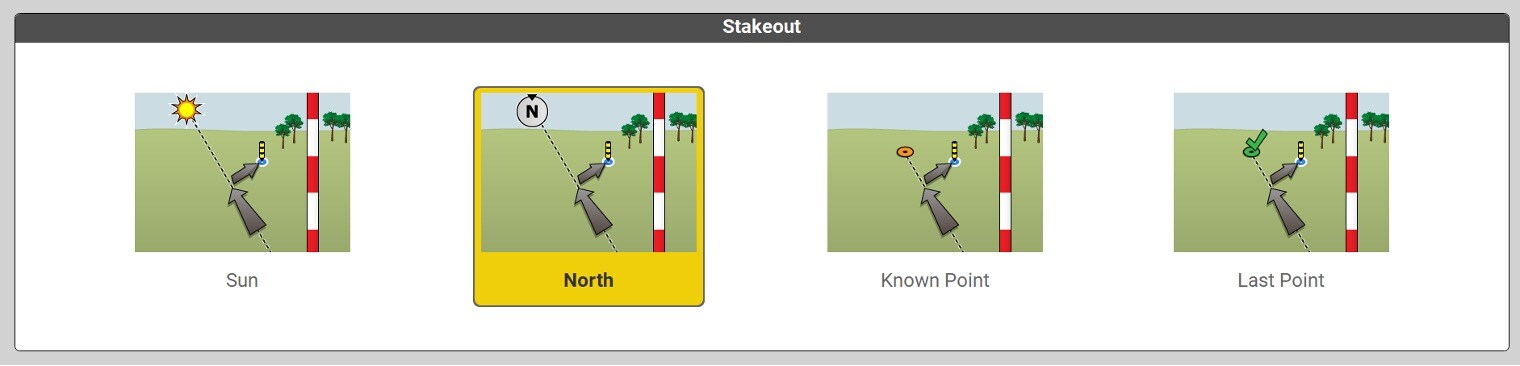
It is possible to change the orientation of the layout. The directions displayed on the screen will change depending on the chosen mode. To change mode;
- From the Layout menu, click the i button
- Click on Orientation Config

In GNSS mode, the orientation of the layout is the orientation of the orthogonal indications for layout, can be done by facing toward;
•The sun
•The north
•At a known point (of the project)
•At the last staked point
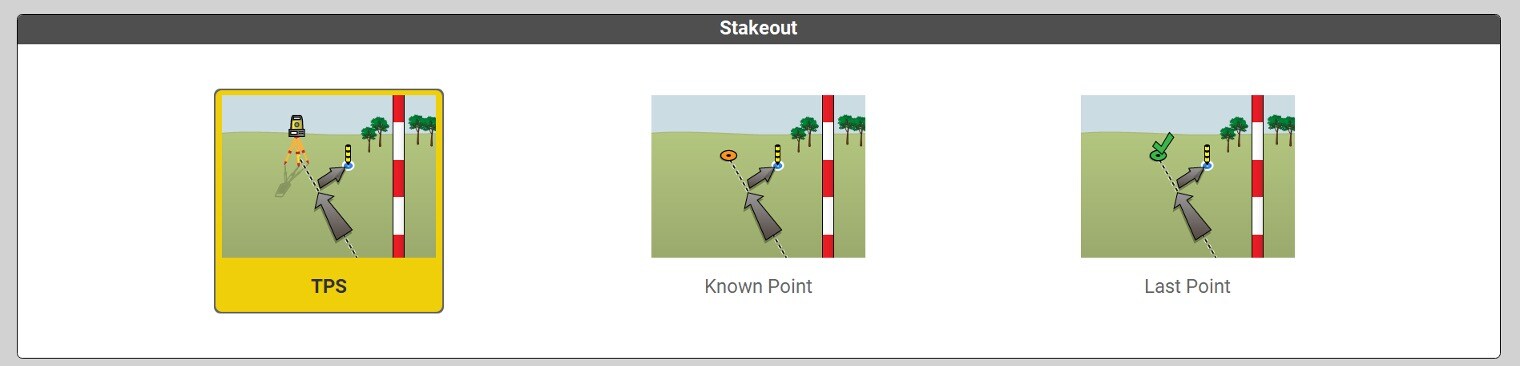
In total station mode, the orientation of the layout can be done facing;
•Towards the total station (TPS)
•At a known point in the project
•To the last staked point