Shift a surface step by-step
➜ Requirements:
• Surface file available in active job. It can be:
- Previously created in the Surfaces & Volumes application. See also: 8.7.1 Create a Surface
- Imported as a reference. Refer to: Importing data to the project step-by-step
• To display different surfaces use Map view manager. Refer to: Map View manager.
- Open the Surfaces & Volumes app.

-
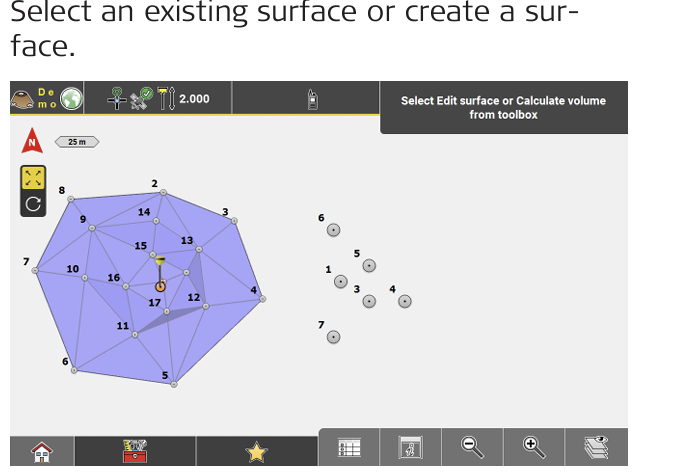
- Select Shift Surface from the Toolbox. The toolbar for shifting surfaces is displayed
in map view.
- To define the shift, either select a source point and a target point in the map, or enter shift values to define the east, north and height shift.
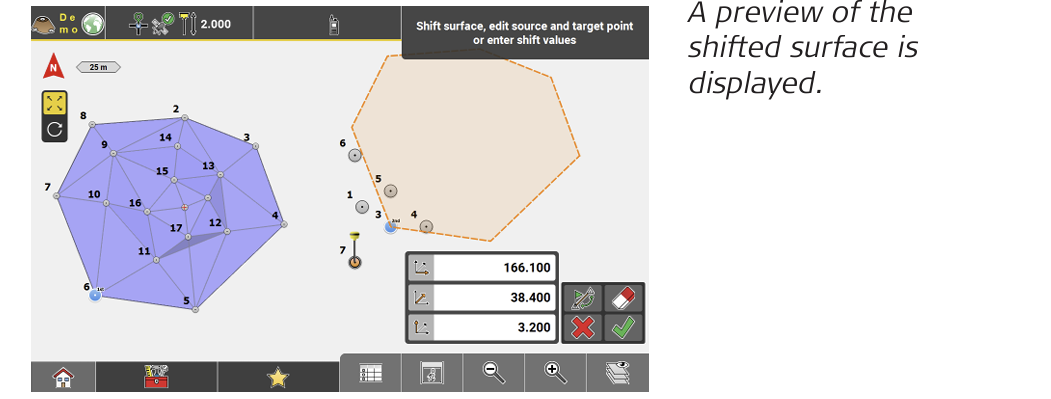
• To switch source and target point or to invert the shift values, tap .
.
• To clear the selected points or the entered shift values, tap .
.
• To cancel surface shift, tap .
.
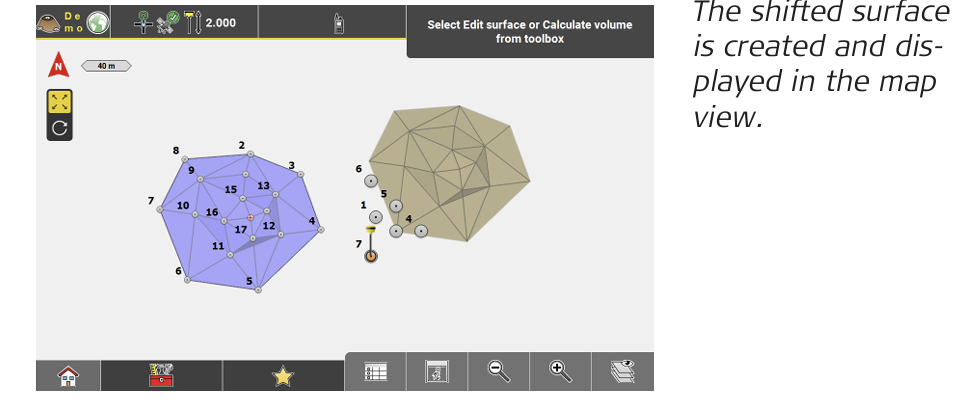
• To accept and shift, tap . The "Save" screen is displayed.
 - To save the surface, enter the desired name and tap
 .
.