General description 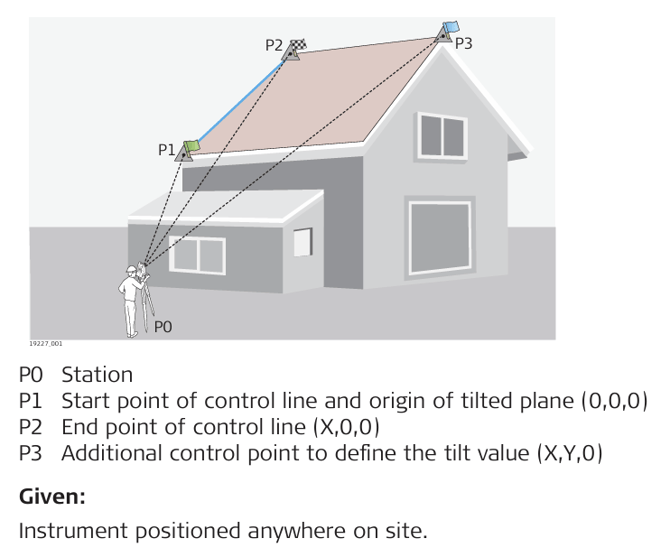
Setup using a tilted reference plane
- Open the Setup app.

iCON site: Optionally, select Setup from the Favourites key. - Select Set reference plane. For an overview of available setup methods refer to General Description.
- Level instrument. Tap
 to proceed to the next Wizard step.
 - Enter Reference plane name and a description. Tap
 to proceed to the next Wizard step.
 - Measure the first control point to define the origin of the tilted plane. This point is also the start point of the control line.
- Tap
 to proceed to the next Wizard step.
 - Measure the second control point to define end point of the control line. Tap
 to proceed to the next Wizard step.
 - Measure the third control point to define the tilted plane. Tap
 to proceed to the next Wizard step.
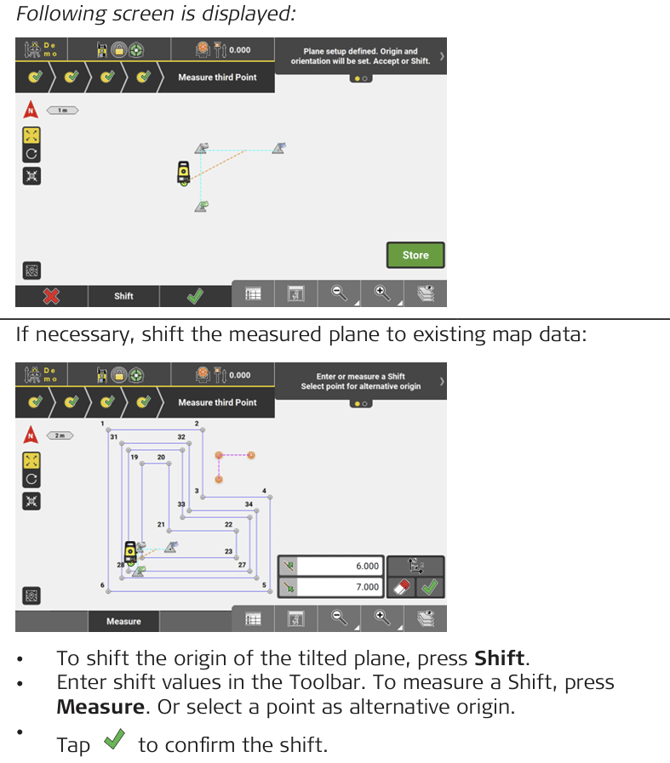
- To finish station setup, tap
 .
. - The station coordinate and orientation are saved. To allow for a correct setup of the station with this data at a later time, it is recommended to measure at least three backup points.
To measure backup points, tap Back-up.
Setup pilot for tilted reference plane 
- Open the Setup app.

iCON site: Optionally, select Setup from the Favourites key. - Select Restore reference plane. For an overview of available setup methods refer to General Description.

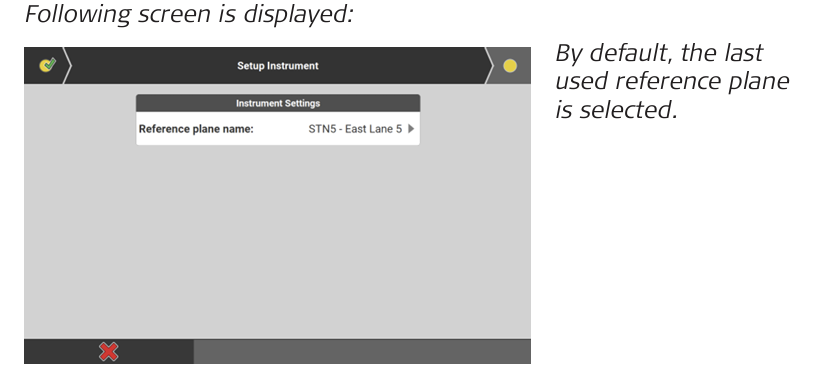
- To select another reference plane from the list of available planes, tap the arrow button
 to the right. Tap
  to proceed to the next Wizard step.
 - Measure all control points and backup points.
- To finish station setup, tap
 .
. 