This guide provides instructions on how to log control points using the ICG70 GNSS receiver and utilize OPUS for post-processing. The primary focus is on converting GNSS data into RINEX format and comprehending its applications in obtaining precise location data.
—
What is RINEX?
RINEX (Receiver Independent Exchange) is an open data format designed to store and exchange raw GNSS (Global Navigation Satellite System) data. GNSS receivers, such as the ICG70, typically record satellite observations in proprietary formats that necessitate conversion to RINEX for universal processing, analysis, and post-processing.
RINEX facilitates the processing of data from various receivers and manufacturers using compatible software, such as OPUS, making it a pivotal standard for managing precise GNSS data.
—
What Does RINEX Log?
RINEX files encompass raw GNSS observation data, including:
- Distance to Satellites: The measured distance between the GNSS receiver and each satellite in its line of sight.
- Line-of-Sight Speed: The rate of change in the receiver’s position relative to each satellite.
- Signal Strength: The quality of the signal received from each satellite.
—
To log RINEX data using the ICG70, ensure you have the required RINEX license. Here’s a step-by-step guide to begin recording RINEX data:
1. Set Up for Data Recording:
- Insert an SD card into the antenna.
- Refer to the user manual for the antenna for specific setup instructions.
2. Access the Configuration Screen:
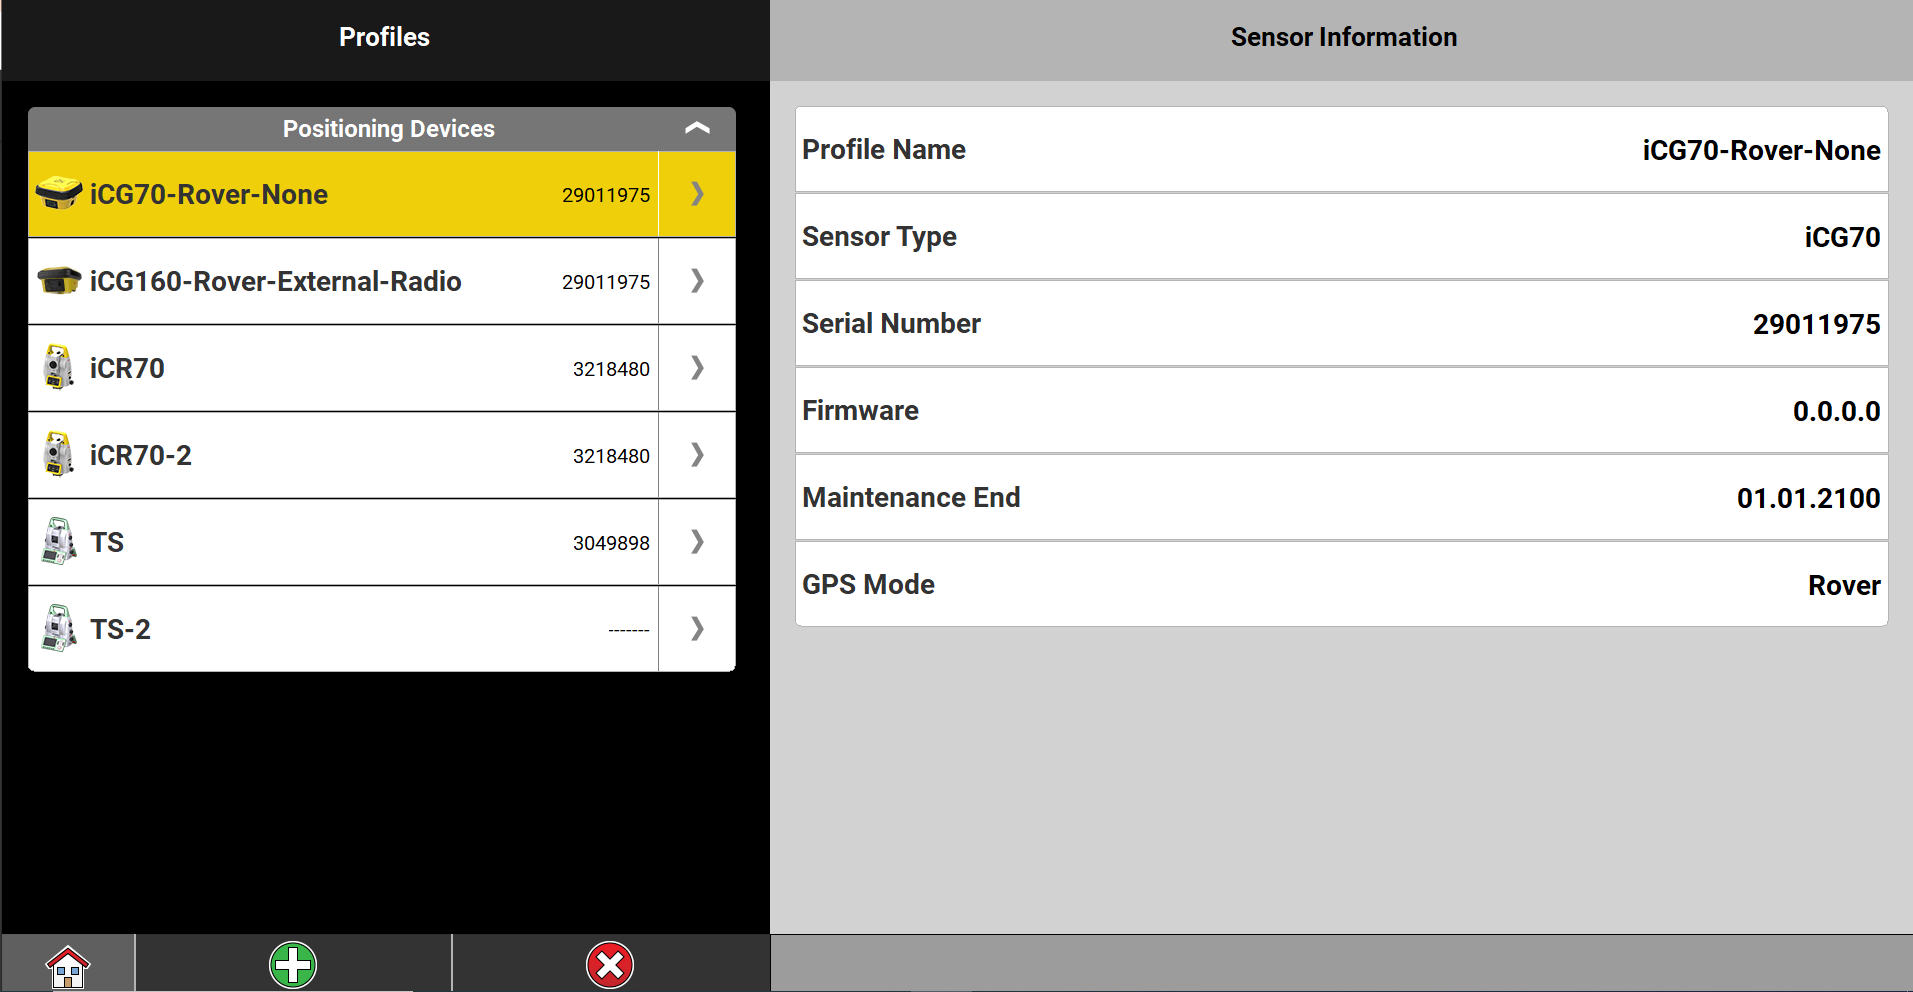
- From the main menu, navigate to Profiles and Device.
- click on the arrow next to the Rover you’re using it opens the settings.
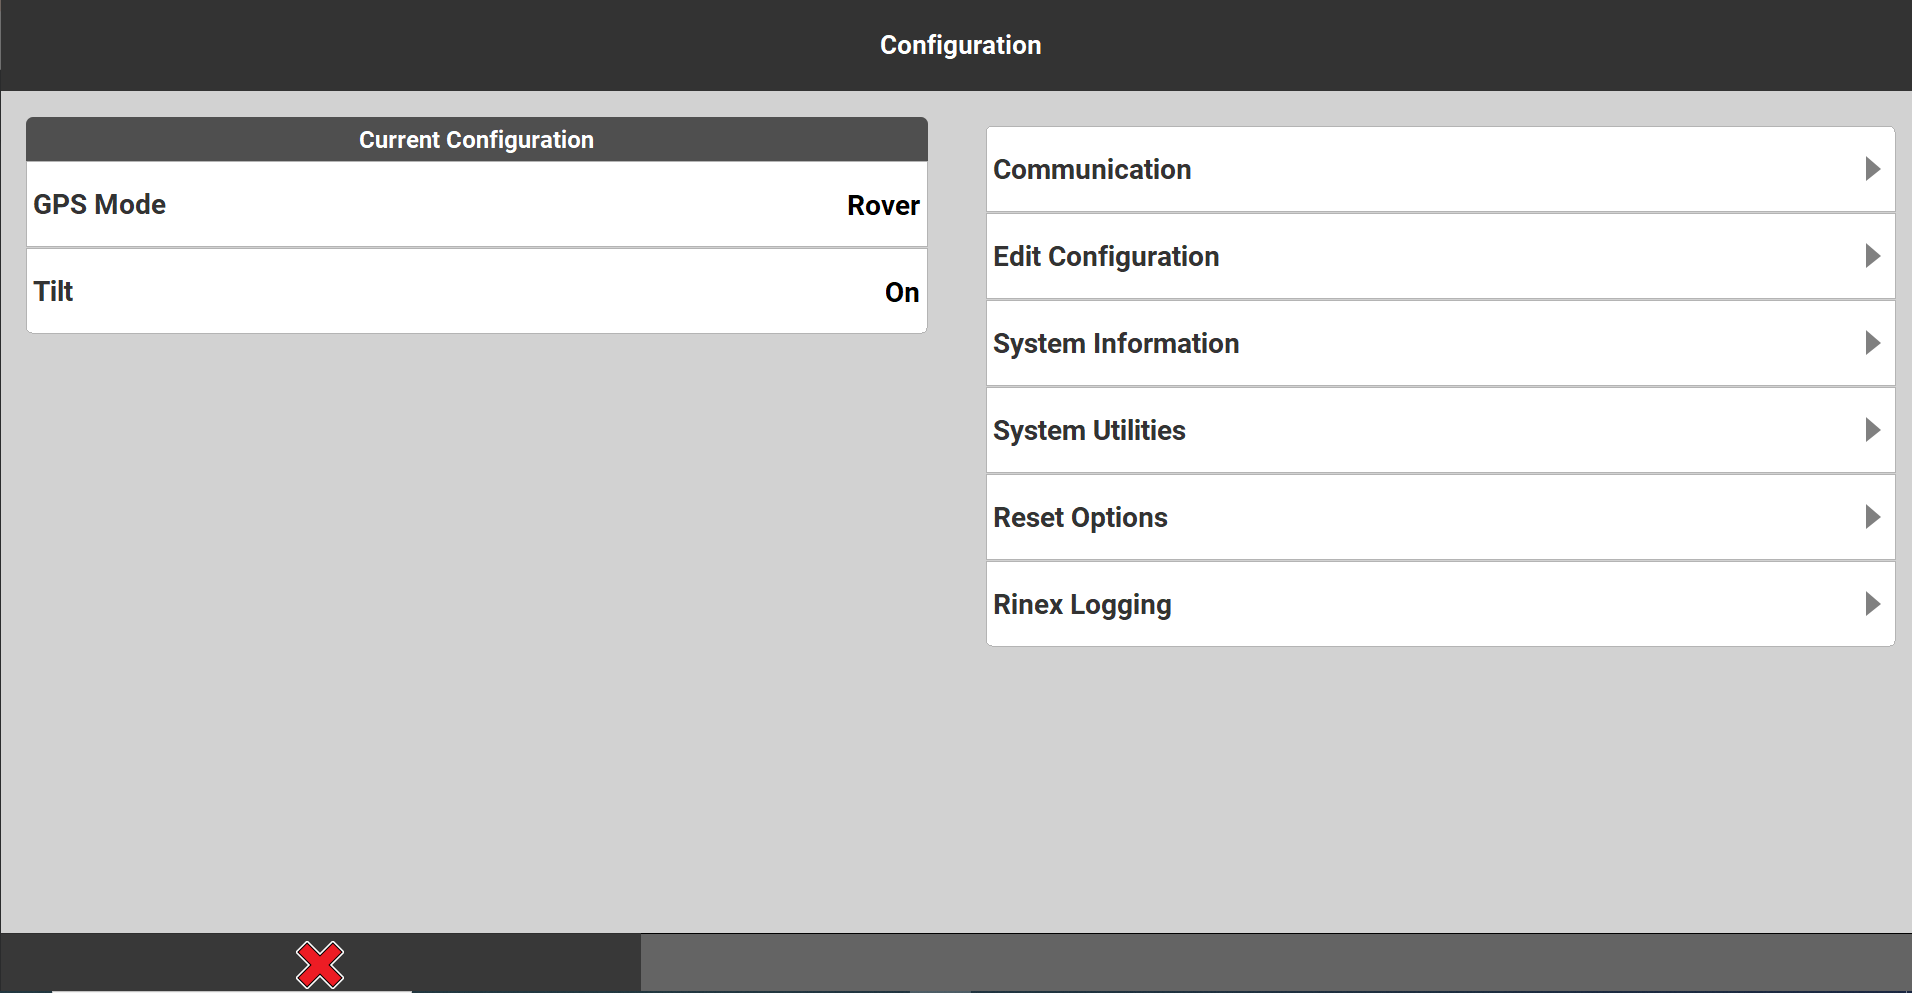
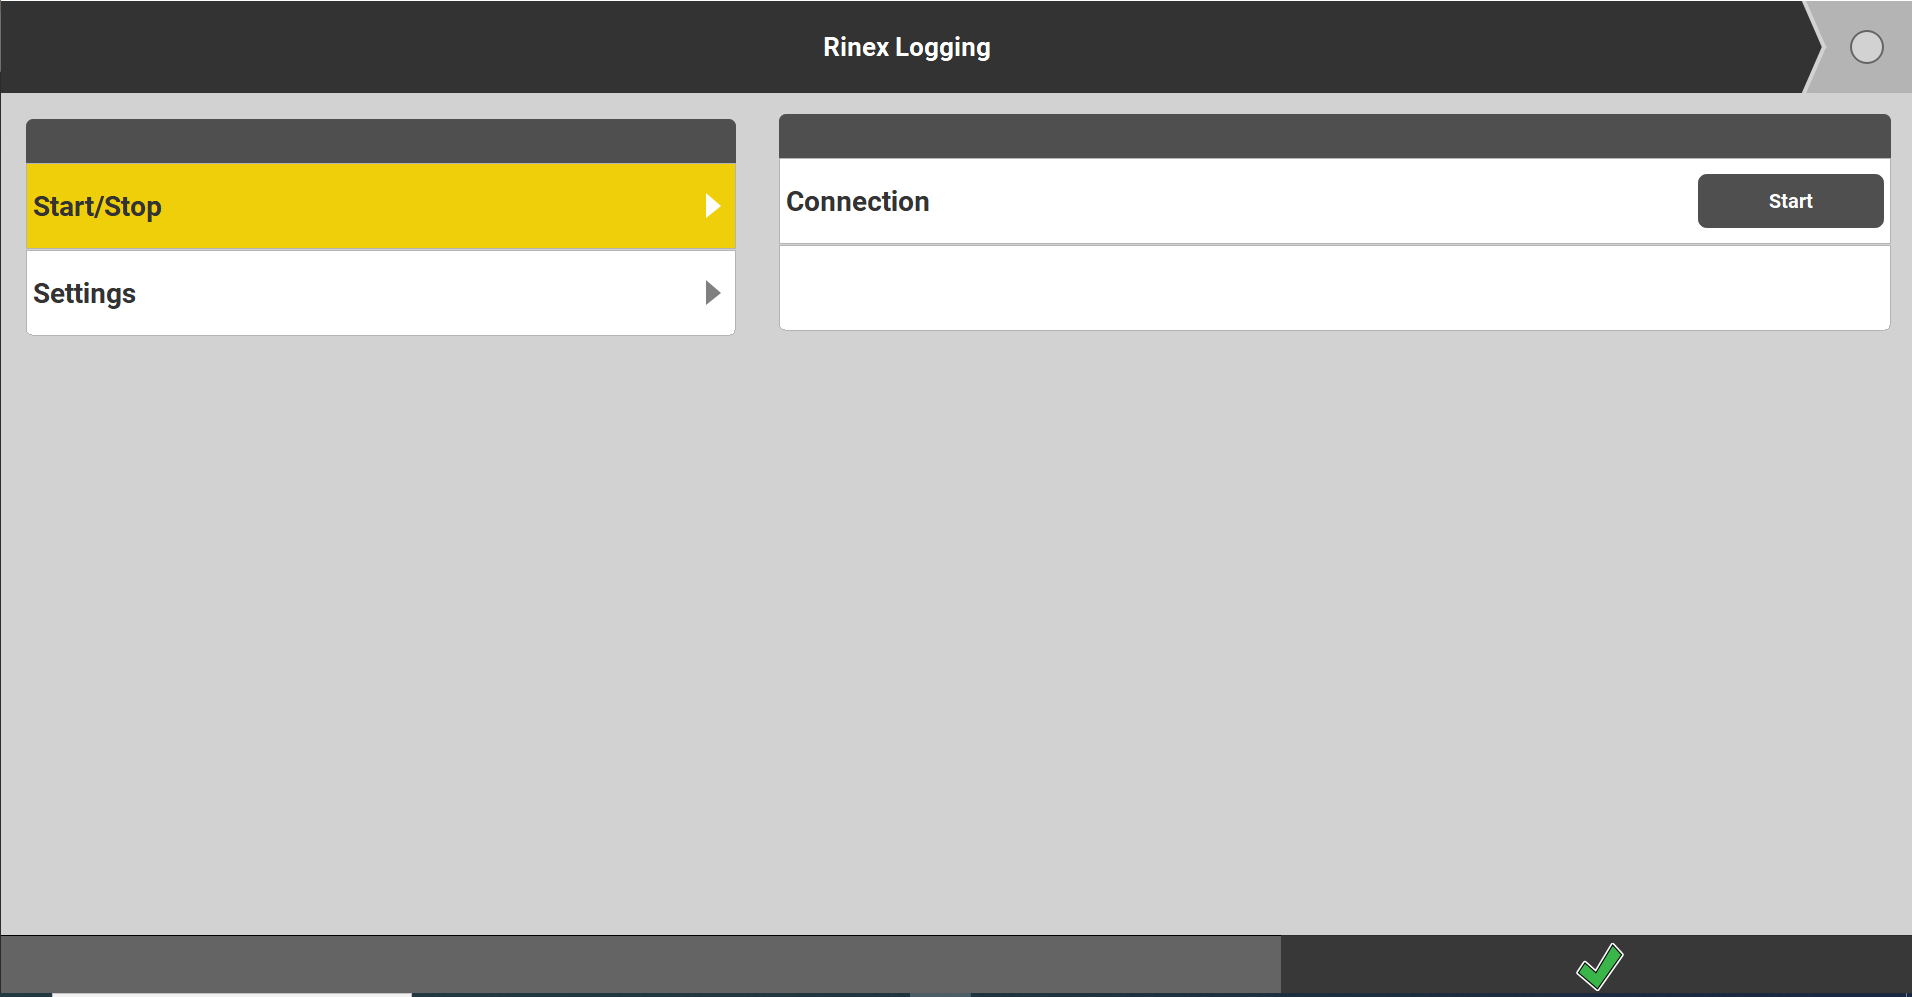
3. Enable RINEX Logging:
- In the Configuration screen, tap on Rinex Logging.
- The “Rinex Logging” screen will appear.
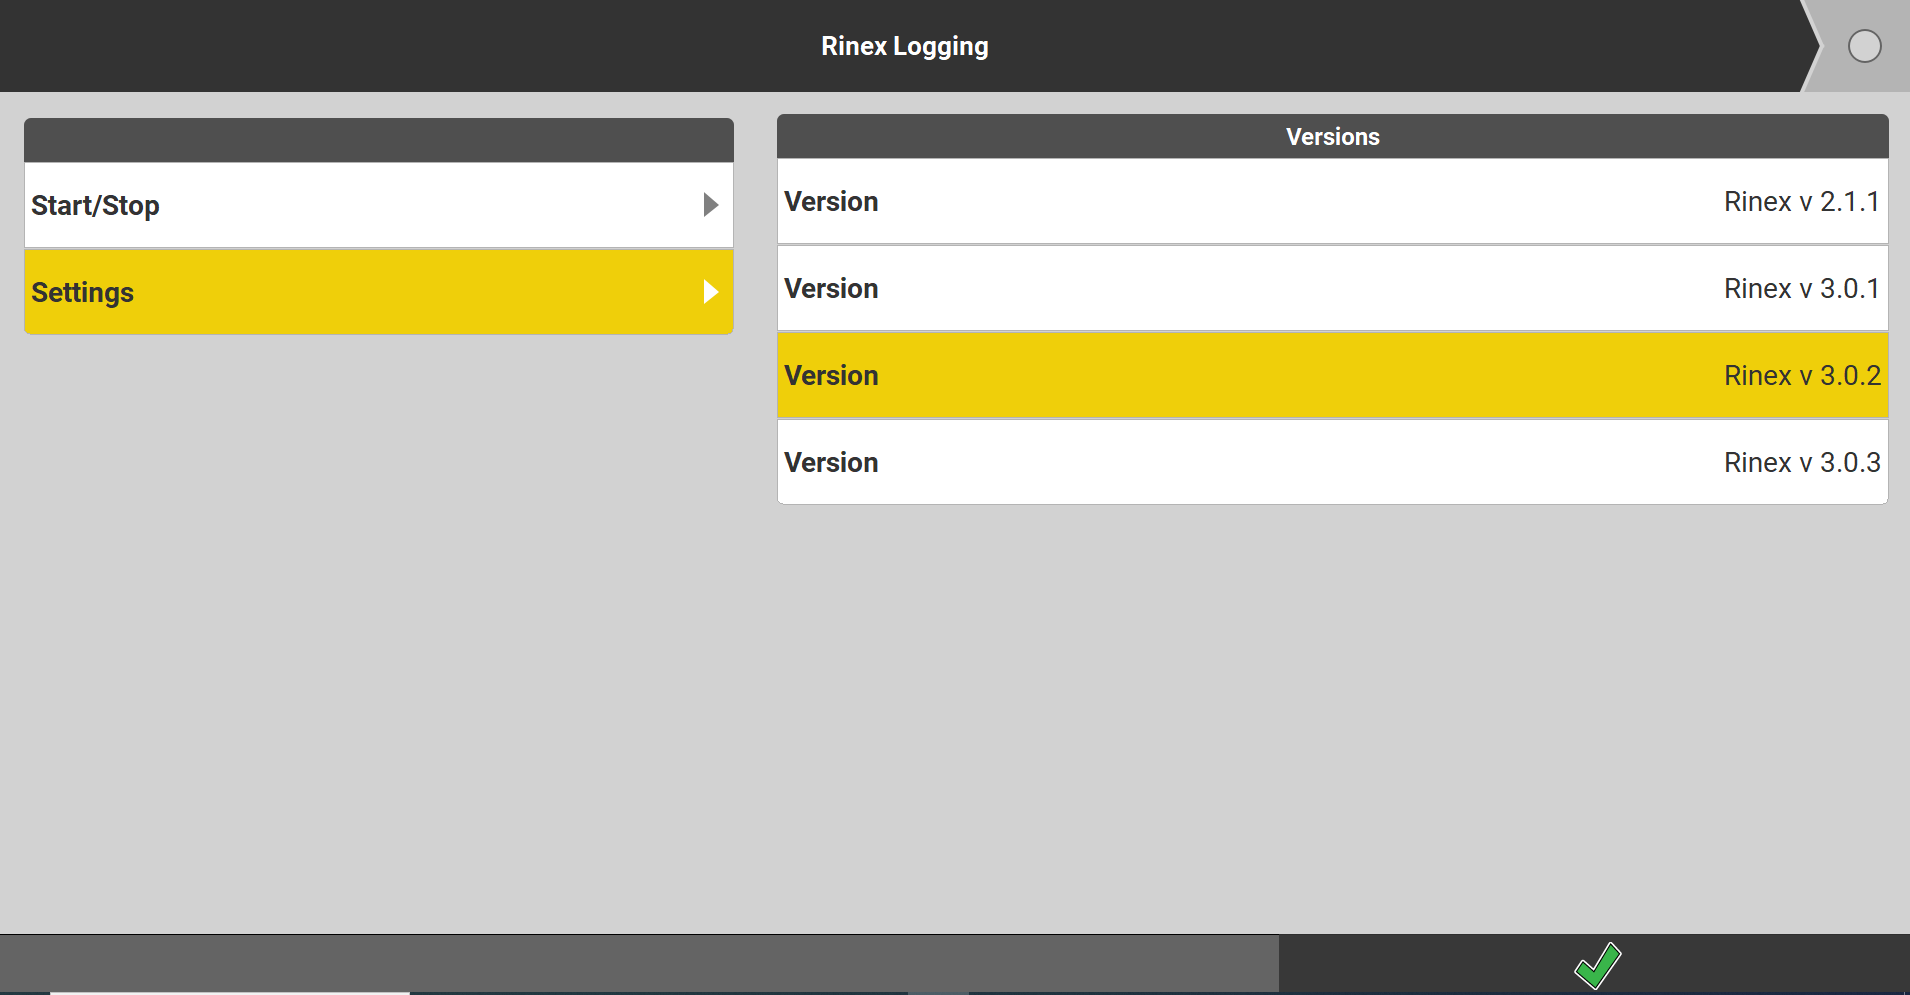
4. Select the RINEX Format:
- Choose the latest RINEX format (usually version 3.x).
5. Start Data Logging:
- Tap Start to initiate data recording.
- Once you’ve completed your observations at a specific point, tap Stop and save the data by pressing the green check mark.
6. Repeat for Each Control Point:
- Repeat the process for each control point you’re measuring.
- For optimal accuracy, aim for 15 minutes to 2 hours of observation per point. Longer durations (e.g., 2 hours) can yield more precise results.
- For rapid static measurements, the observation time may vary depending on the conditions. Consider conducting multiple observations at different times or on different days to compare the results.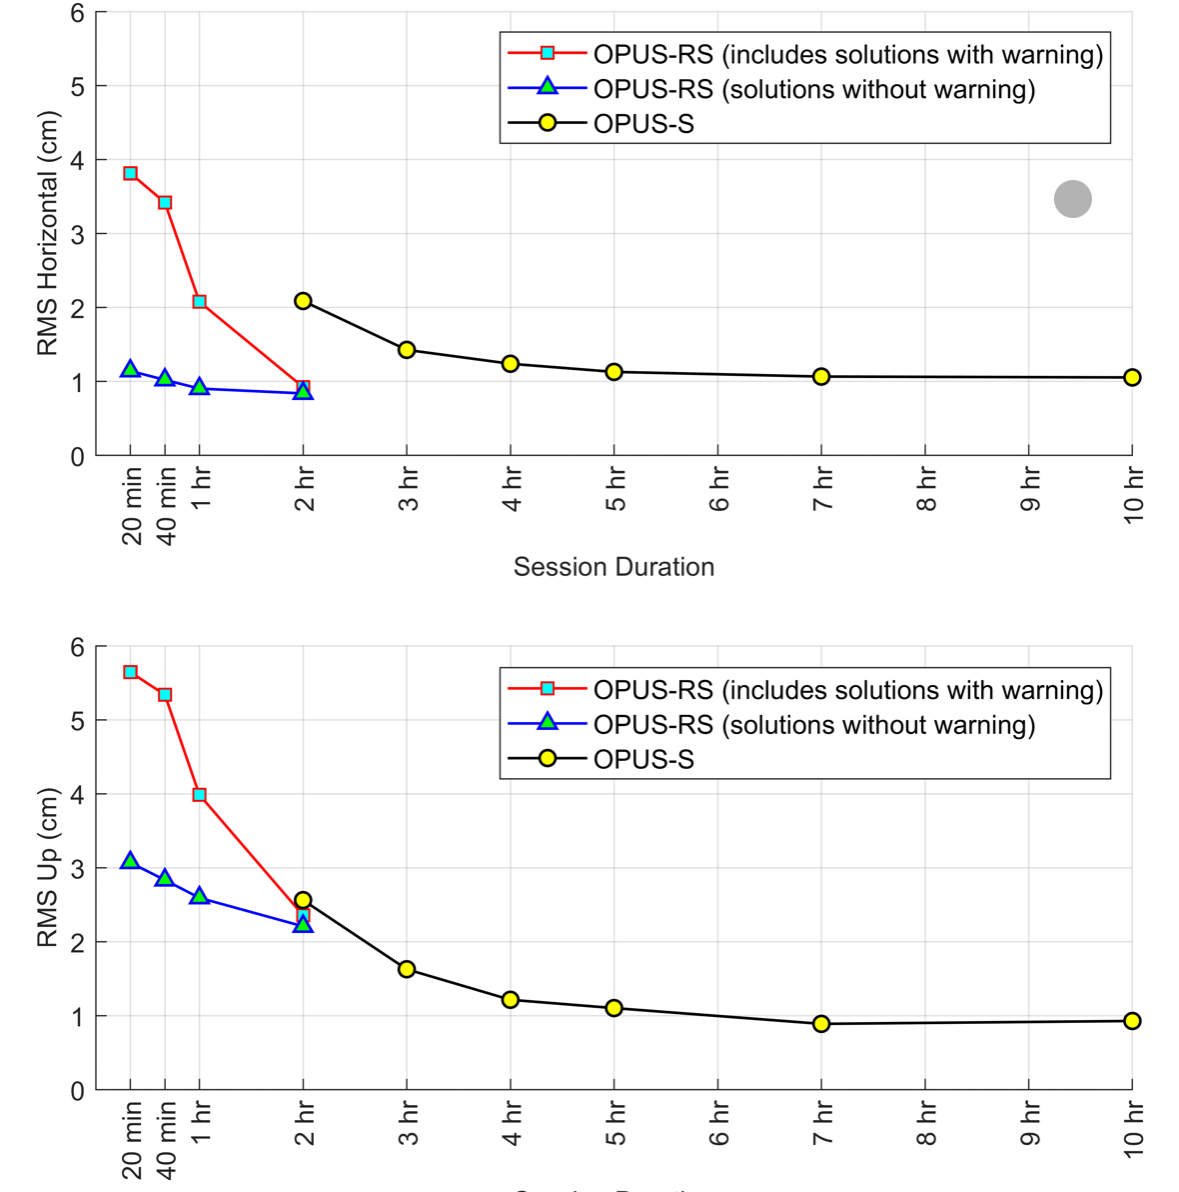
Remember to follow these steps carefully and ensure proper setup for accurate and reliable RINEX data logging.
Once data is recorded, the system automatically stores the RINEX data on the SD card for later use.
After collecting RINEX data, you can use OPUS (Online Positioning User Service) for precise geodetic calculations.
Here are the steps for using OPUS with RINEX data:
1. Prepare Your RINEX Files:
- Ensure your RINEX files are correctly formatted and contain the necessary information, such as the observation times, satellite constellations, and station identification.
2. Upload to OPUS:
- Go to the OPUS website: [https://geodesy.noaa.gov/OPUS/](https://geodesy.noaa.gov/OPUS/)
- Upload the RINEX files.
- When prompted, select LEIICCG70 as your antenna and input the antenna height in meters (measured from the base of the screw to the point on the ground).
- Customize your solution by choosing a state plane or a specific CORS base.
- Enter your email address and select whether you want to upload for rapid or regular static processing.
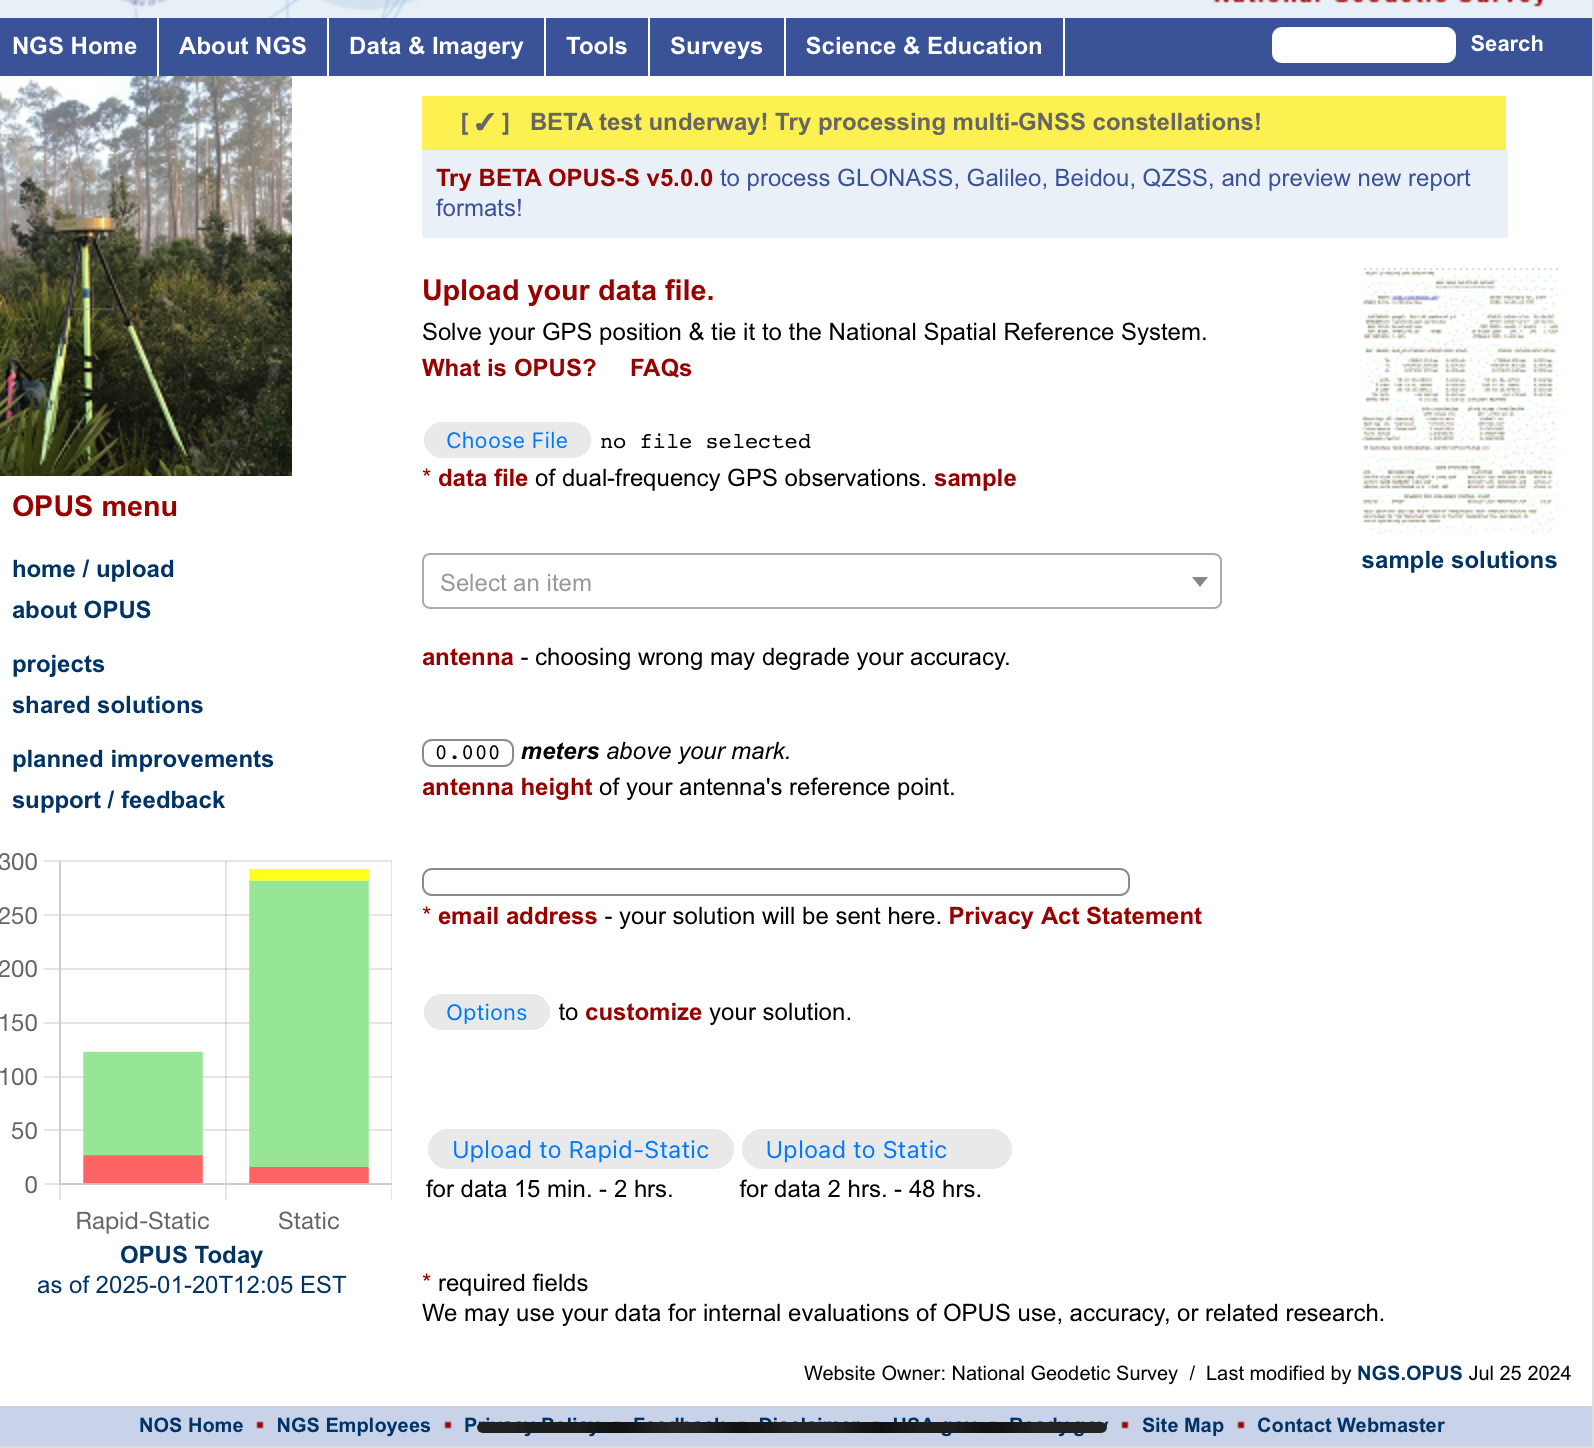
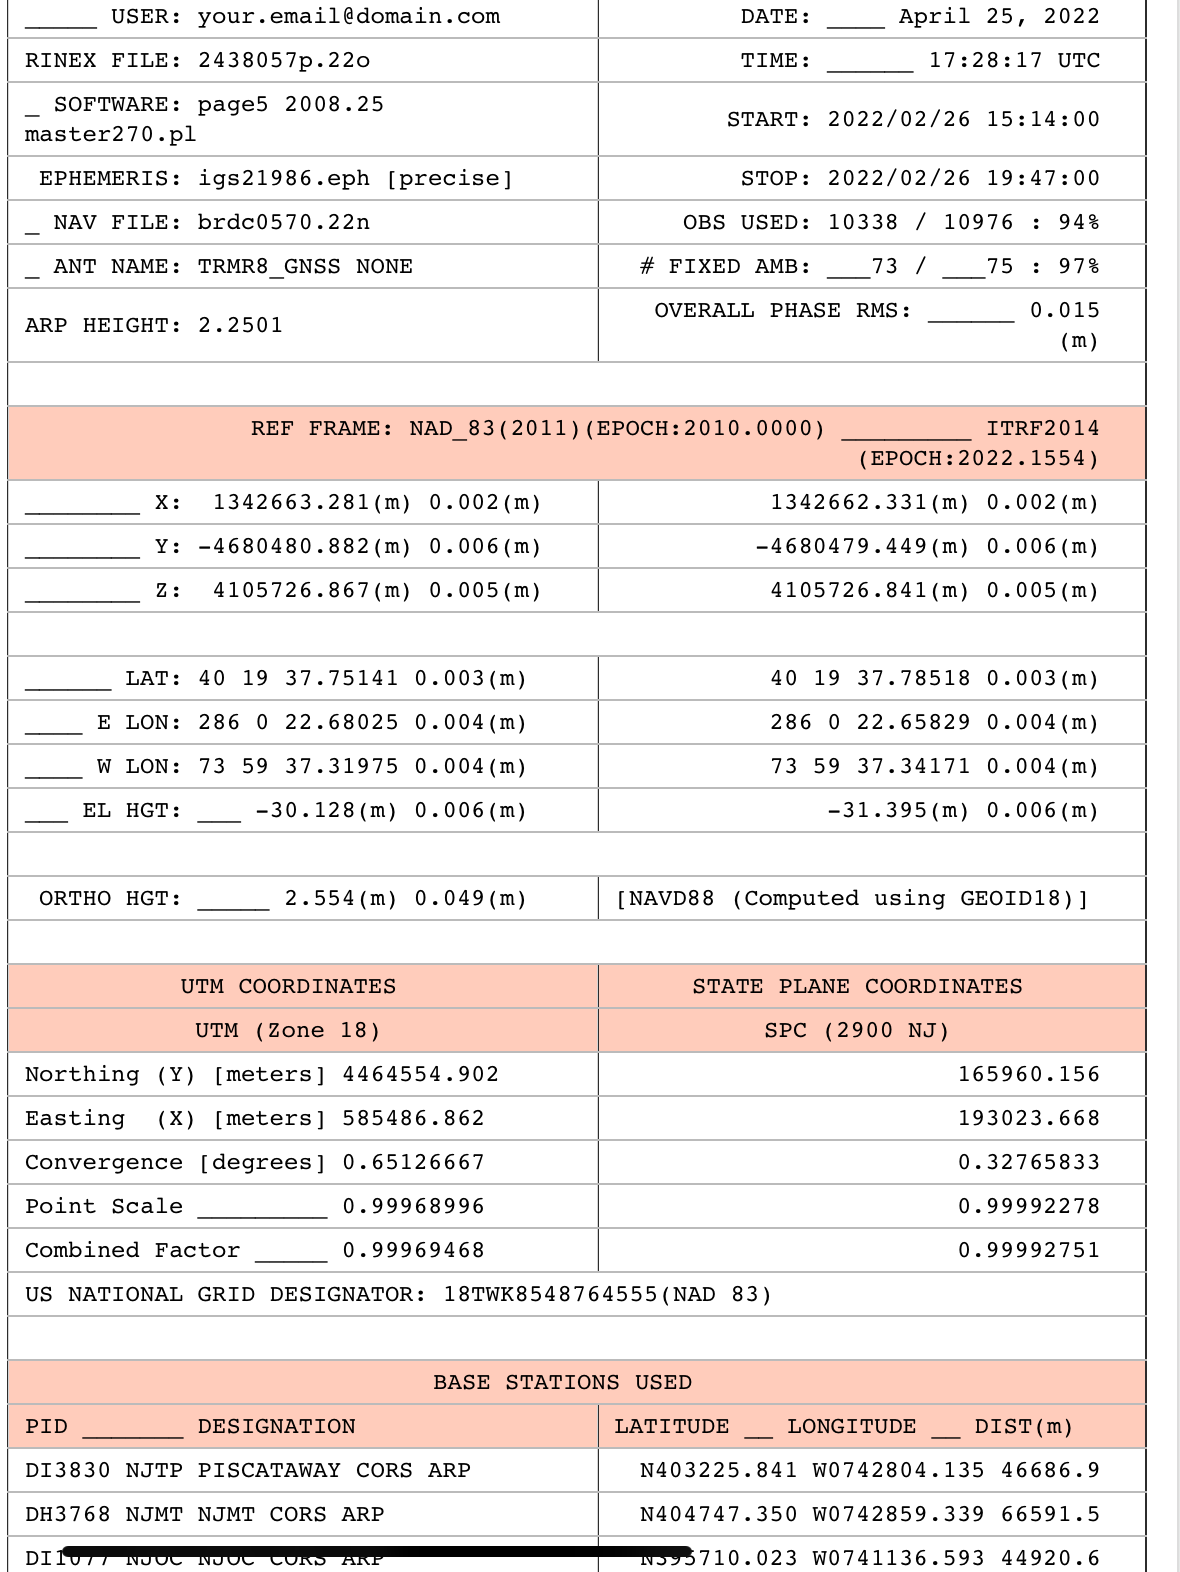
3. Review the Result:
- After processing is complete, OPUS will provide the precise geodetic position (latitude, longitude, and ellipsoid height), along with an accuracy estimate and metadata.