➜ Verification license needed.
General description
The Verification application allows you to use surfaces, objects, point clouds or patterns as a reference and compare them to measured/as-built surfaces, objects, point clouds or patterns.
For example, you can scan a floor and compare the measured surface against the design surface of the floor.
➜ To create point clouds for verification, you can use the Leica MS60 as a scanner together with iCON or import point clouds from other sources. To create grid scan point clouds or surfaces based on a point grid, you can use an iCB/iCR or iCT together with iCON. Refer to How to Collect Data Using Scanning .
The verification result is a graphical map, indicating by colour the points where the as-built data corresponds with or deviates from the design data. The colour coding is according to the defined tolerance and colour settings. For information on changing the settings, see: Tolerance settings and 9.3.2 Scale Options
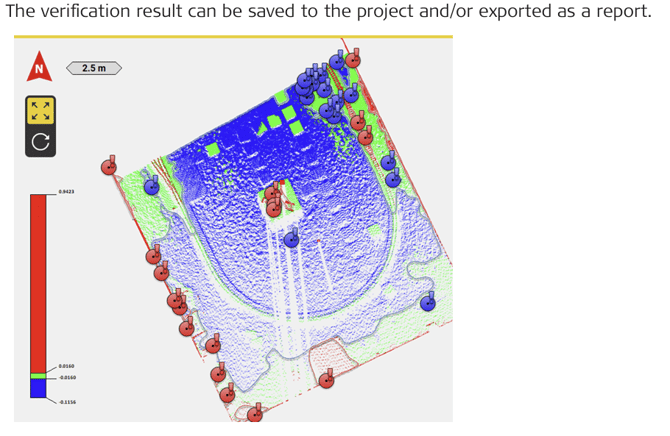
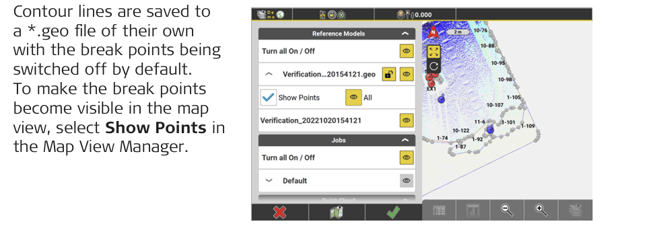
The software creates extrema points for out-of-tolerance areas, and contour lines to delimit the areas within and outside the tolerance. Contour lines for areas above the tolerance are coloured red, contour lines for areas below the tolerance are coloured blue.
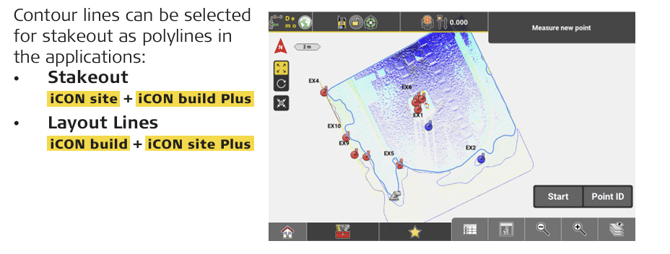
When saving the verification result, you can select to store extrema points and contour lines to the database, in order to stake out the points and areas which need to be reworked.