Leica MC1 allows users to create models with the Create Model Application. This article offers a step by step guide to create a Slope Model, which is beneficial when you need to grade to a specific angle. This is particularly useful for constructing roads, embankments, drainage systems, or sports fields. It ensures consistent slope angles for water runoff, structural stability, and adherence to design specifications.
Creating a Slope Model
Step 1: Accessing the Create Model Application
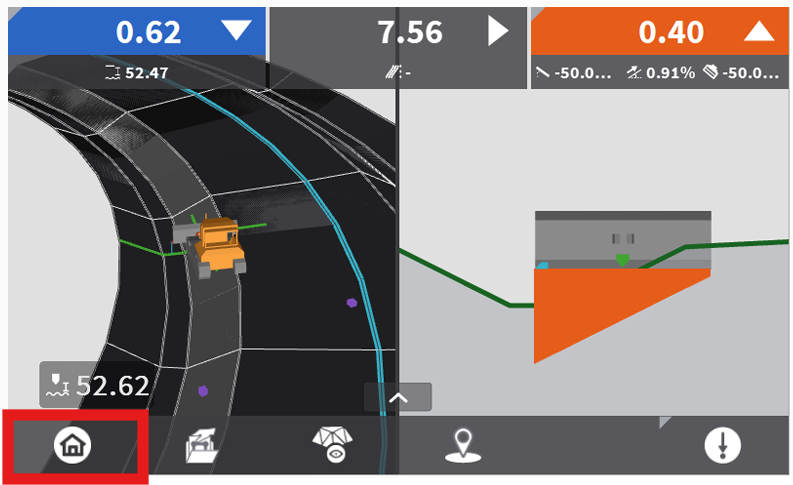
Navigate to the Home Screen.
Select Model Options.
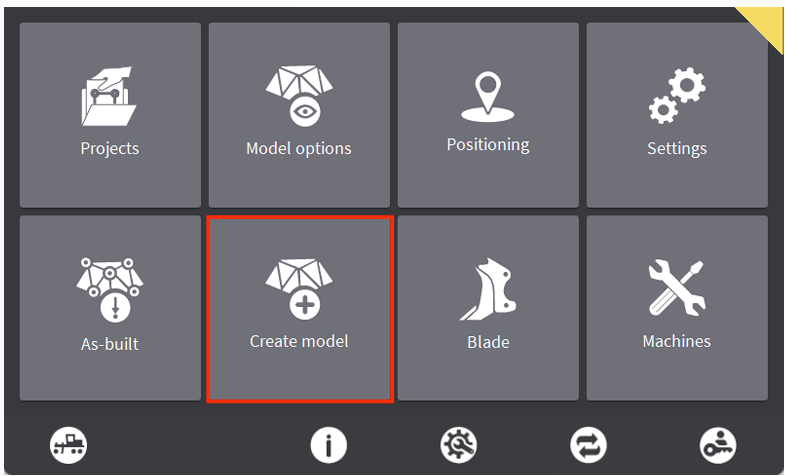
Step 2: Configuring the Slope Model
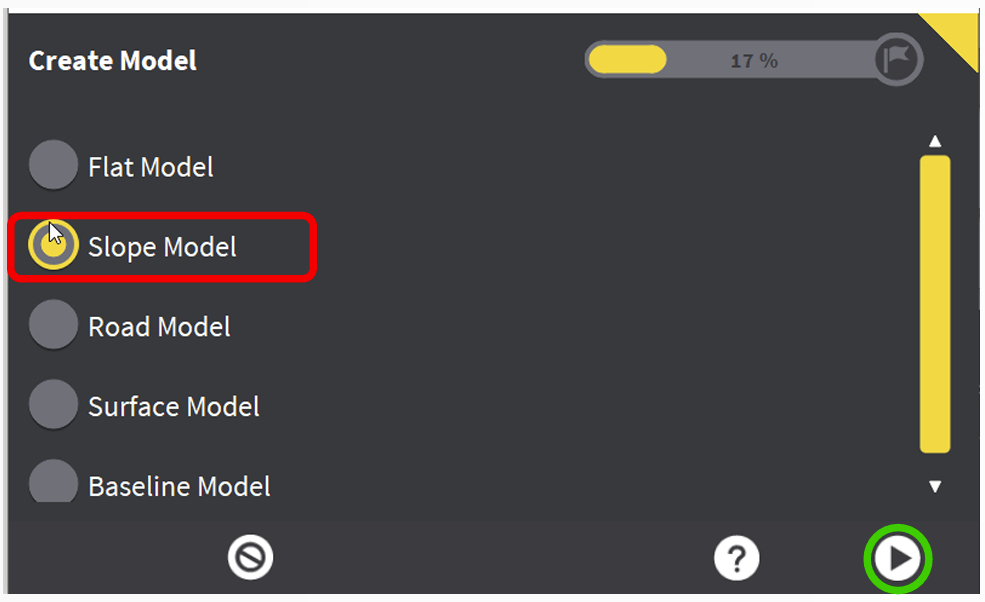
Select Slope Model then hit the Arrow to proceed.
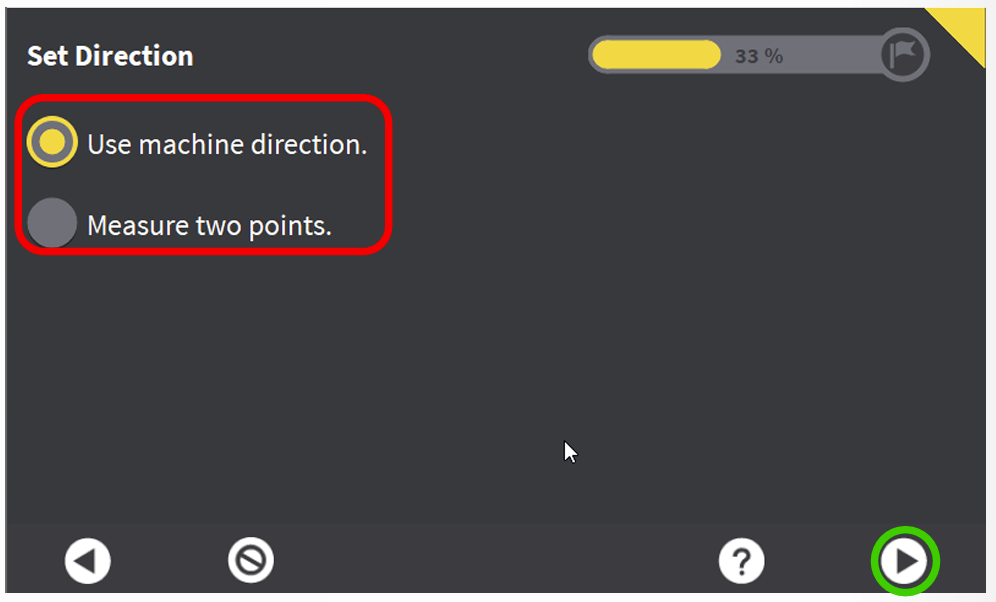
Define the method in which you would like to Set Direction of the X-Axis. You can use the current machine orientation as the X-Axis, or you can measure two points with the bucket/blade.
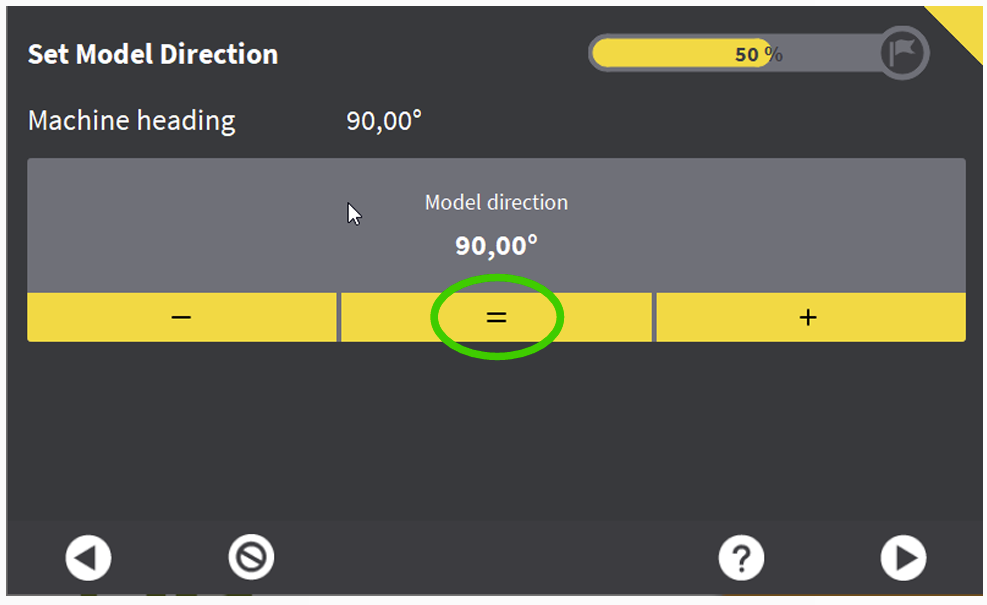
Use Machine Direction: Set the machine perpendicular to the desire slope, then hit [=]. You can then use the [+] and [-] to incrementally adjust from there if needed. Hit the arrow to proceed.
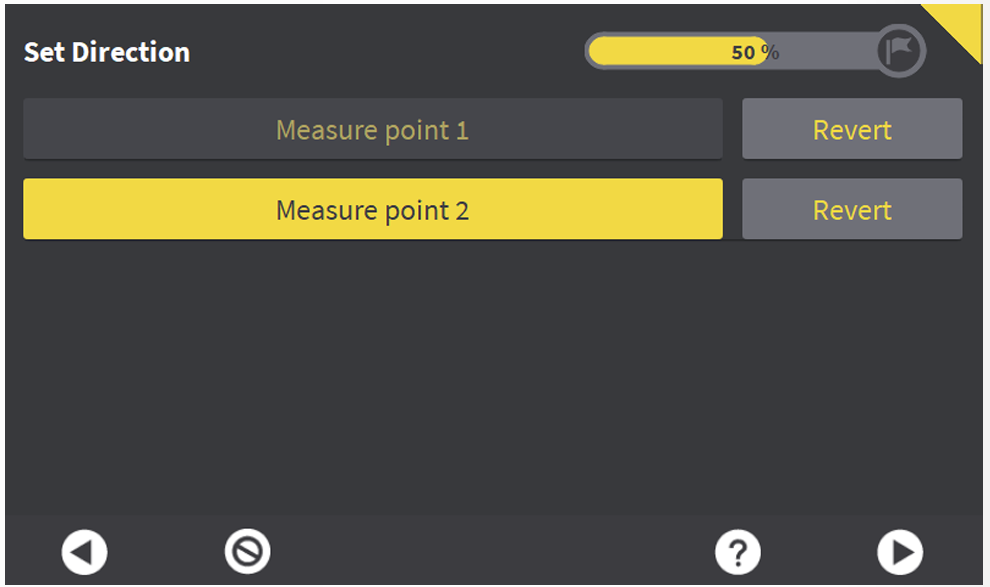
Measure two Points: Set the machine perpendicular to the desire slope, then hit [=]. You can then use the [+] and [-] to incrementally adjust from there if needed. Hit the arrow to proceed.
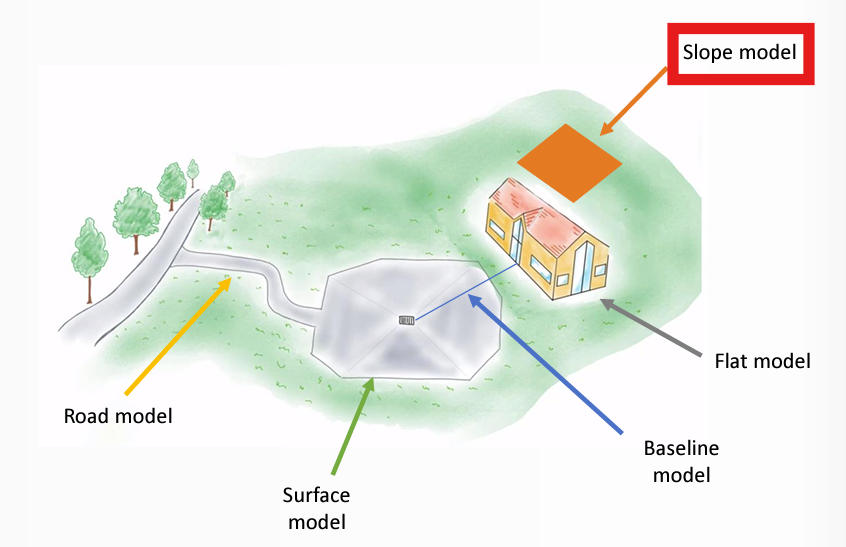
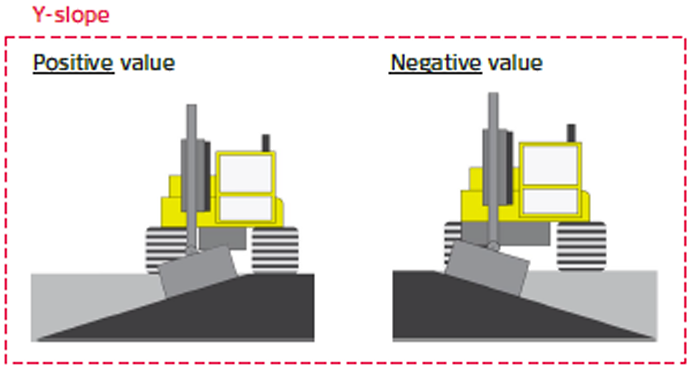
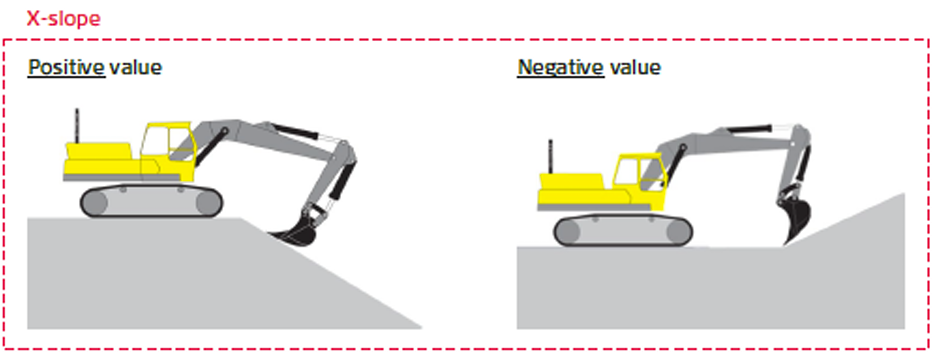
Enter the desired Slope for the X-Axis and the Y-Axis. Not the visuals below to determine which slopes correspond to a Negative or Positive value. You can hit the [=] button to match the current slope of the bucket/blade. Hit the arrow to proceed.

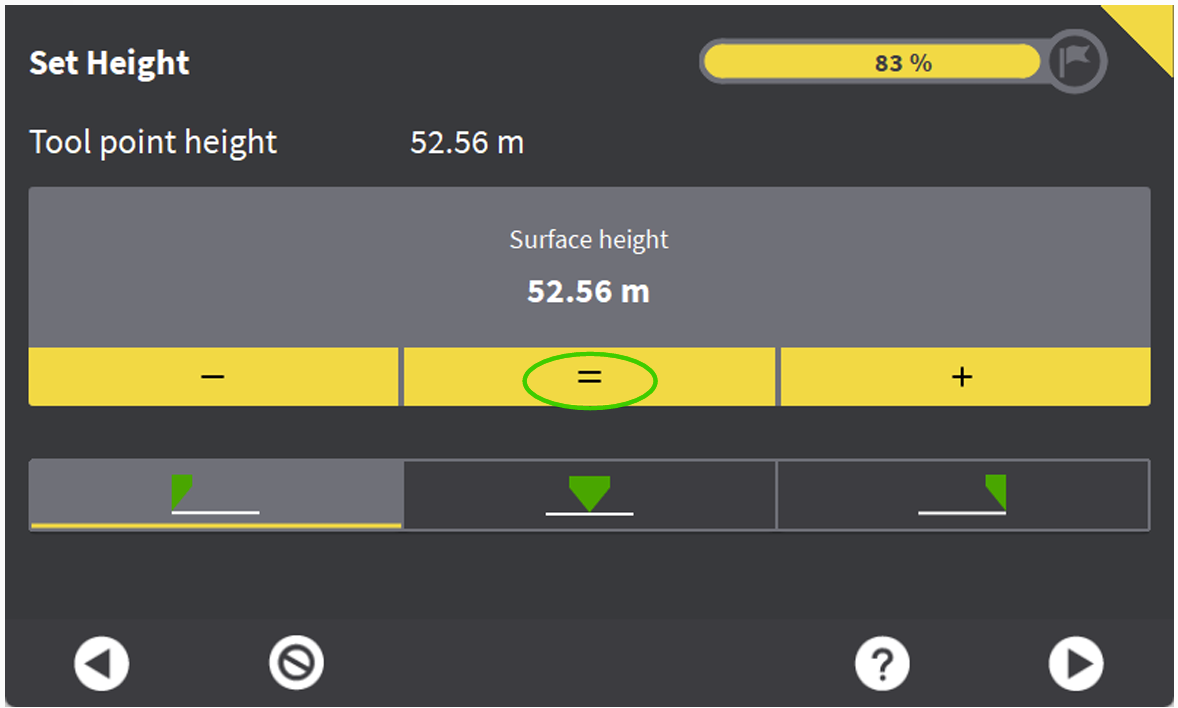
Enter the Height (Elevation) at which the slopes will pass through. You can use the [=] to record the elevation of the current tool point on the bucket/blade. Hit the arrow to proceed.
For example, if you were defining a slope model for a detention system, you would use the manhole invert elevation as your height.
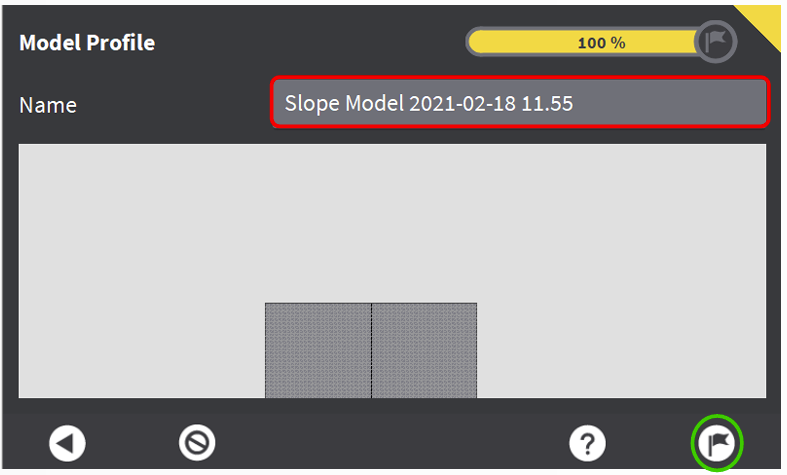
Provide a Name for the Slope Model. Hit the Flag to proceed.
Hit the Check to complete the Create Model Wizard.

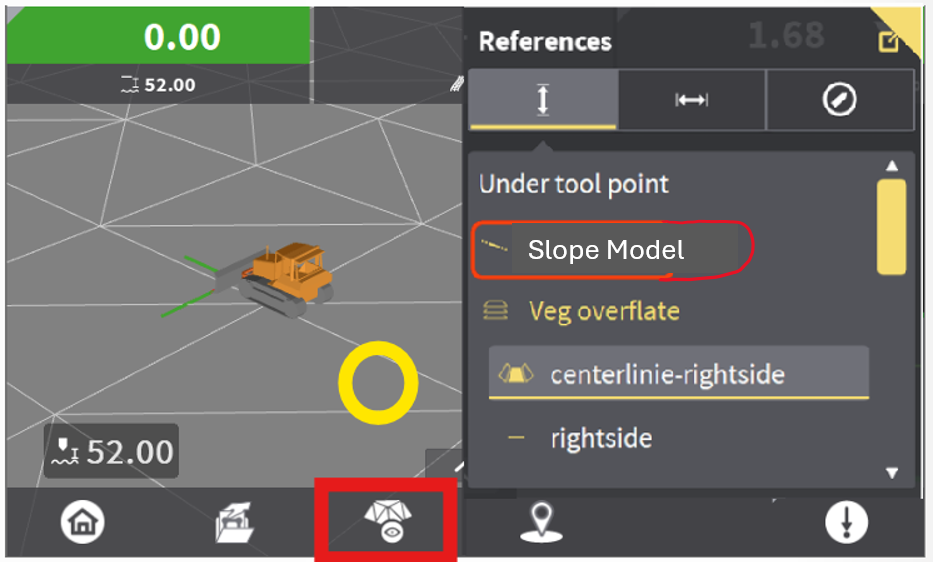
Step 3: Using the Slope Model
The Slope Model works the same as any other Height Reference. Hold your finger on the screen to open up model selection. You can now switch back and forth between Height References on the fly.